To save valuable time, you can create email templates in Outvio Desk. These templates can be automatically filled with variables that pull in customer and order information.
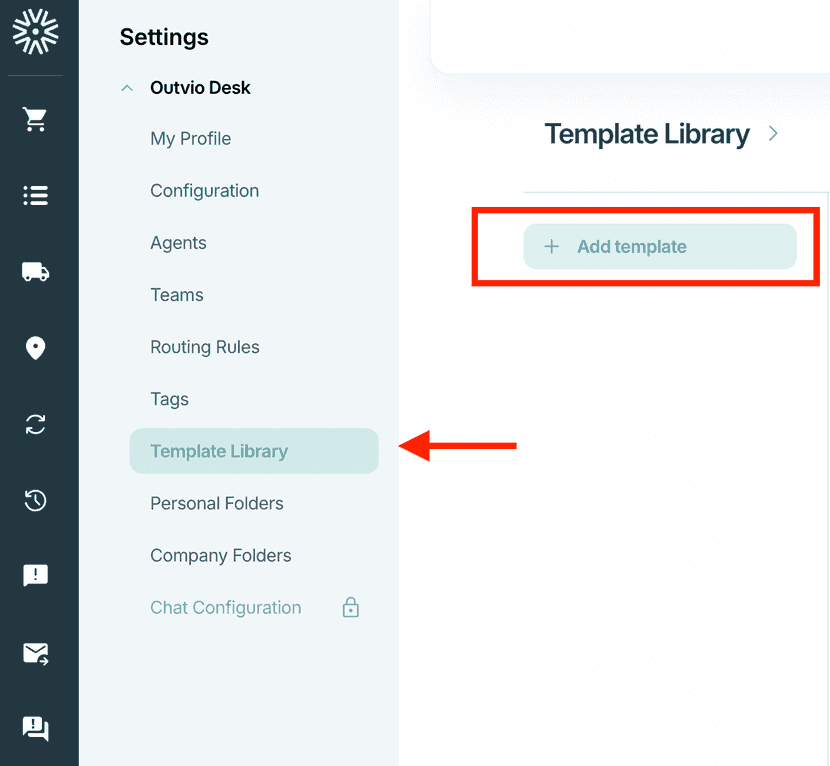
Go to Settings and choose Template Library from the left-hand menu.
To create your first template, click on Add a template.

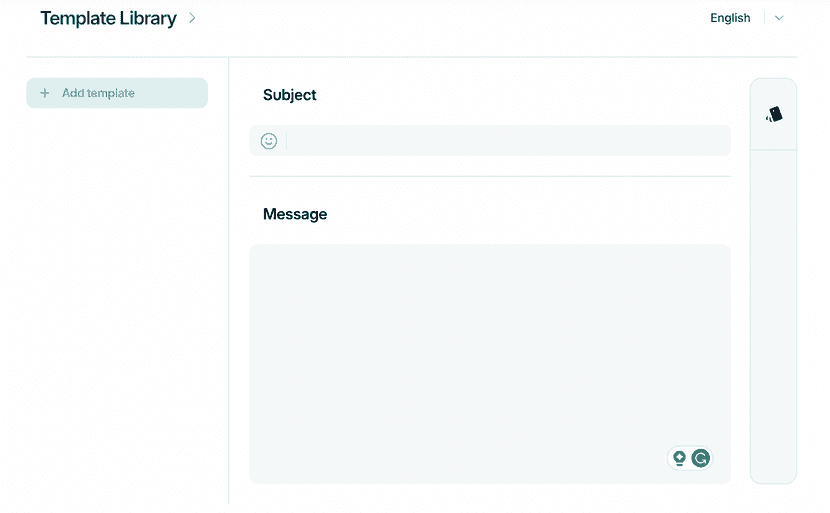
Now you can add a title and body to your template.

On the right-hand side, you’ll find a menu with available variables that you can insert directly into your message.
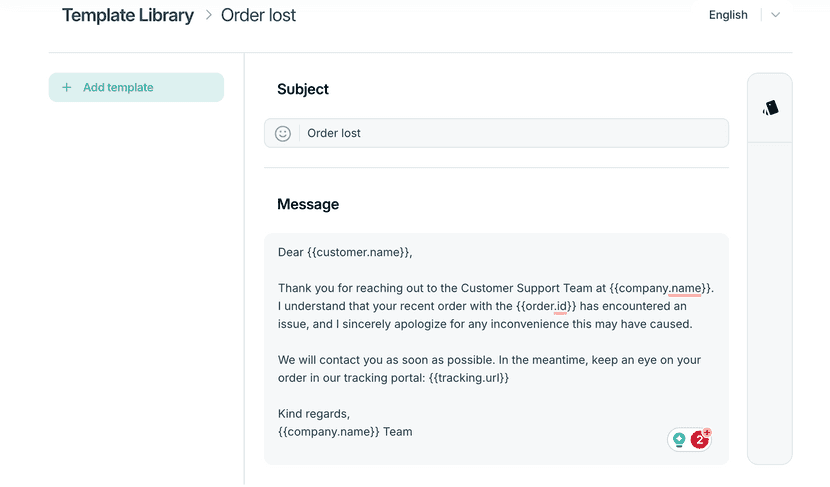
Here’s an example of a template for a lost order report:

Feel free to create as many templates as you need for different situations!
You can also automate messages using these templates based on ticket status updates, instead of sending them manually. See how to create routing rules here.
Below is the full list of variables you can use in your email templates:
| Variable | Placeholder | What it does |
|---|---|---|
| Company Name | #{{company.name}} | Your brand name |
| Company URL | #{{company.url}} | The URL of your store |
| Customer Name | #{{customer.name}} | First and last name of the customer |
| Tracking URL | #{{tracking.url}} | The Outvio tracking portal link |
| Order ID | #{{order.id}} | Order ID matched to the ticket |
| Secondary ID | #{{order.secondaryID}} | Shown if configured in Shop Settings |
| Order OTN | #{{order.otn}} | The OTN of the order |
| Order Currency | #{{order.currency}} | Currency used in the order |
| Return Comment | #{{shipment.returnComment}} | Comment from the returns portal |
| Return Shipping Label | #{{return.shipping.label}} | Link to download the return label (PDF) |
| Return Details | #{{return.details}} | Includes refund method, return value, shipping price, and bonus amount |
