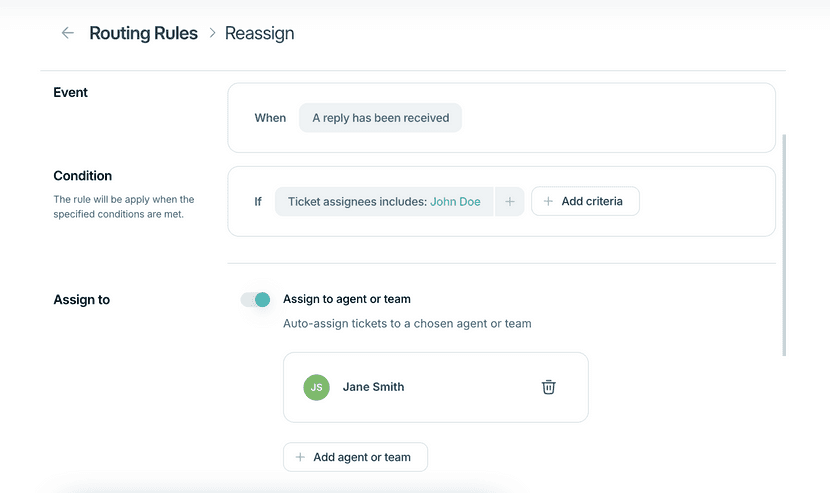
Routing rules are automated instructions that decide where tickets should go based on specific events and conditions. They're designed to help you manage tickets faster and smarter.
How to create routing rules
➡️ Go to Settings → Routing Rules
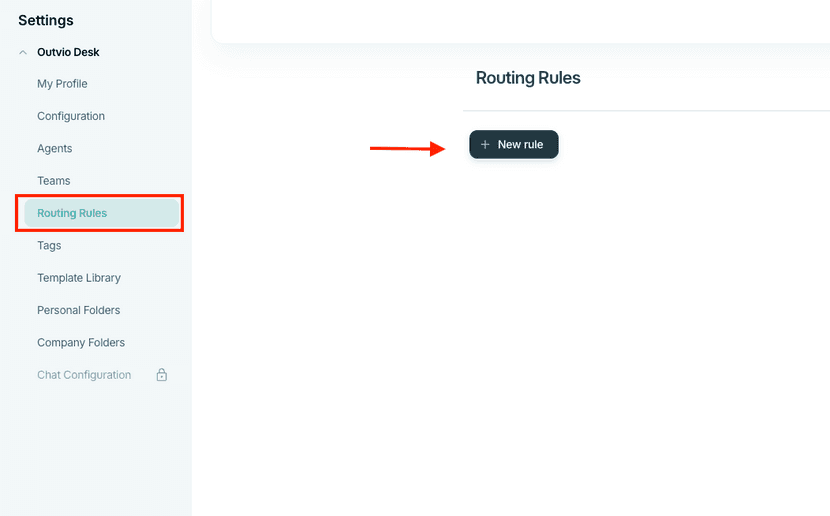
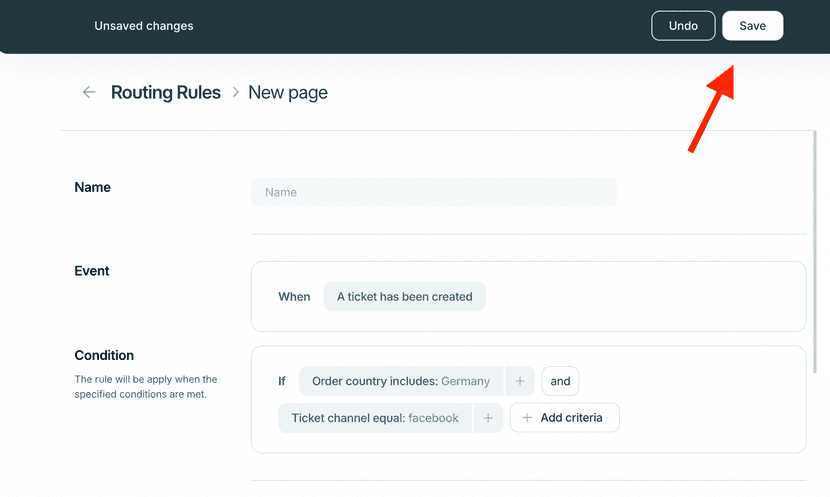
To create a rule, click the “+” icon

- Give your rule a name
- Choose the trigger event:
- When a ticket is created
- When a ticket is updated
- Set conditions for when the rule should apply.
Conditions can include:
- Language
- Country
- Order type
- Customer tags
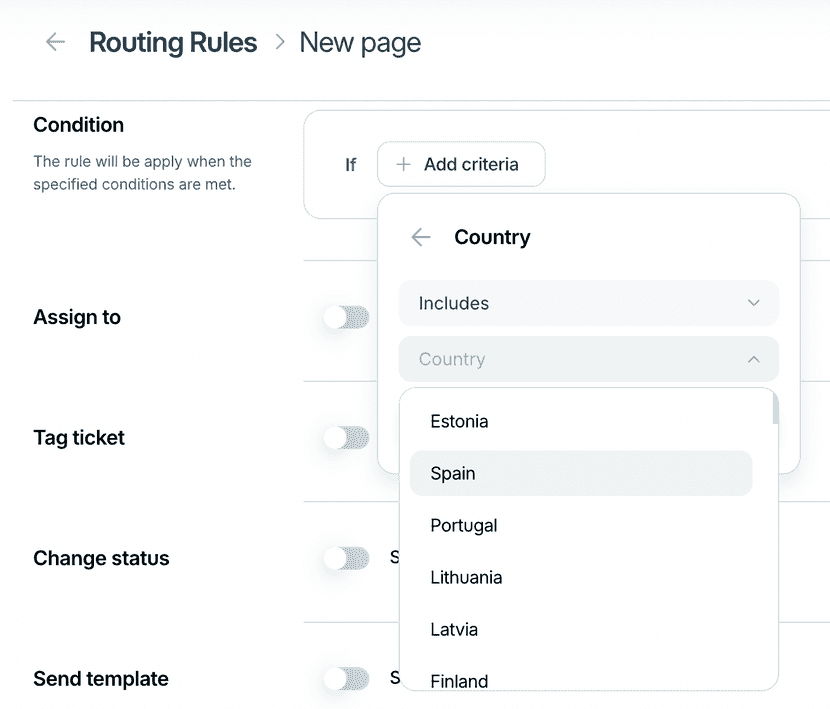
✅ You can add multiple conditions. The rule will trigger if any condition is met.
- Choose the action that happens when the rule is triggered:
- Assign to agent or team
- Add tag to ticket
- Change ticket status
- Send template response
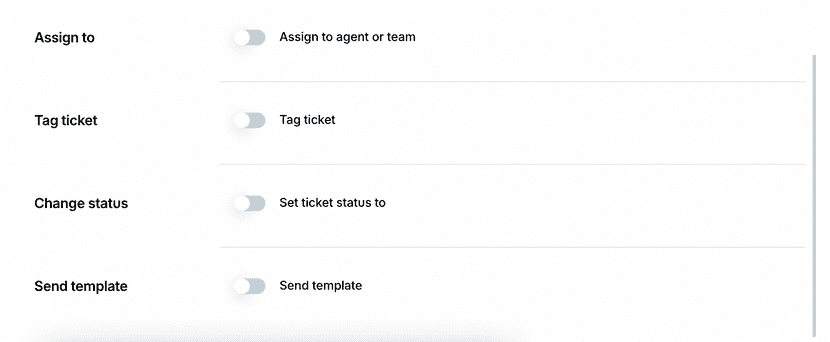
When you're done, click Save
Use cases for routing rules
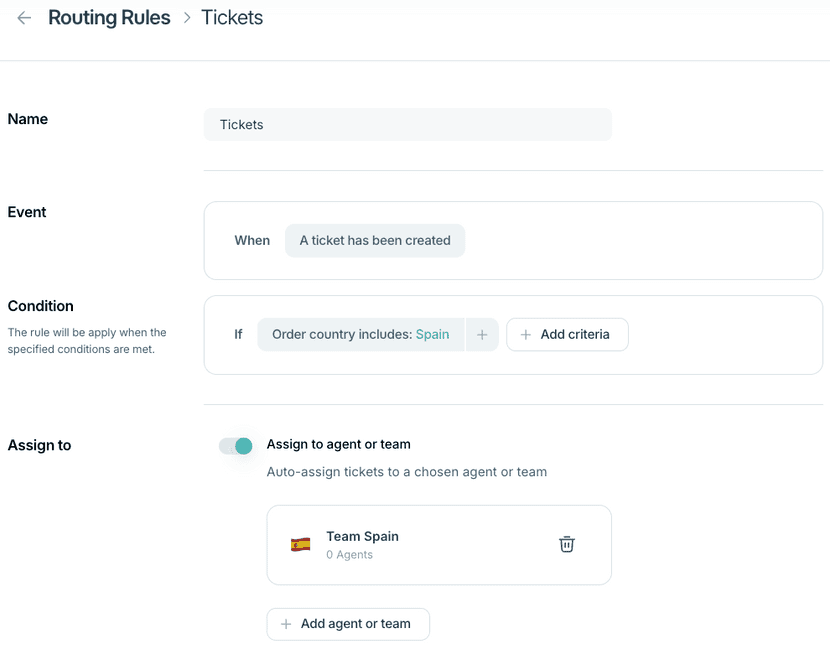
- Route tickets by country Example: Route tickets from Spain to your Spanish-speaking team.
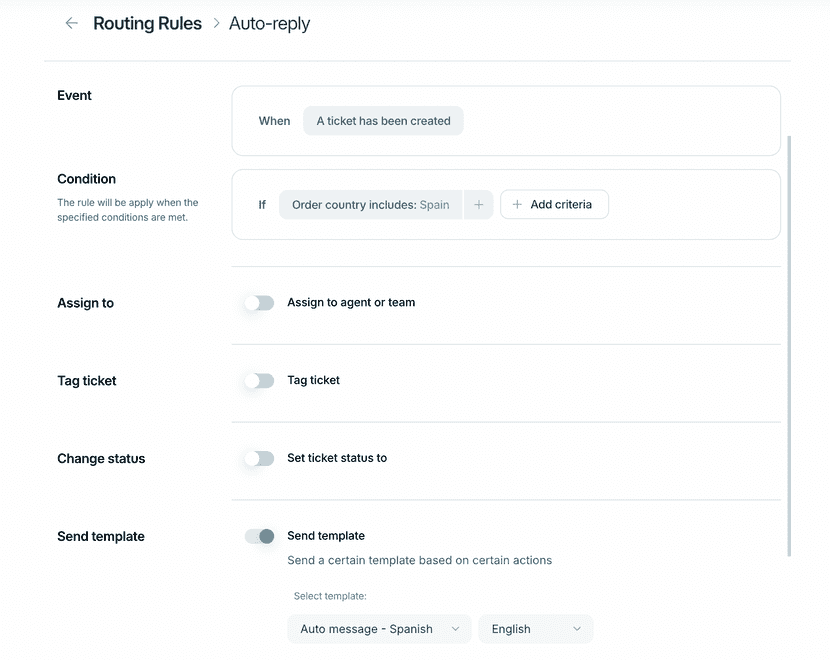
- Auto-confirm new tickets Send an automated reply when a new ticket is created, confirming receipt.
🔗 See how to create templates
- Reassign tickets from absent agents Temporarily route tickets to available colleagues when someone is on leave.
