In this article, we will cover everything you need to know to be a "pro" at handling support tickets!
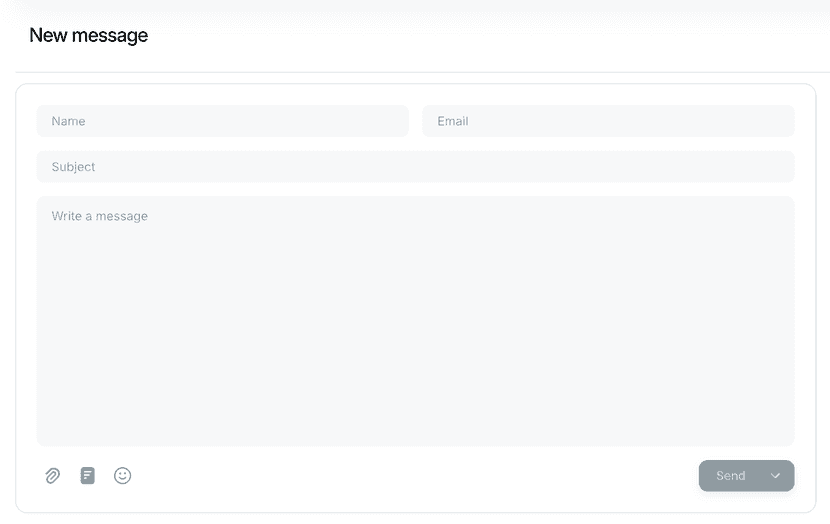
📝 Create a new ticket
Click on the Pencil Icon next to "Inbox".
📂 Navigate and manage your tickets
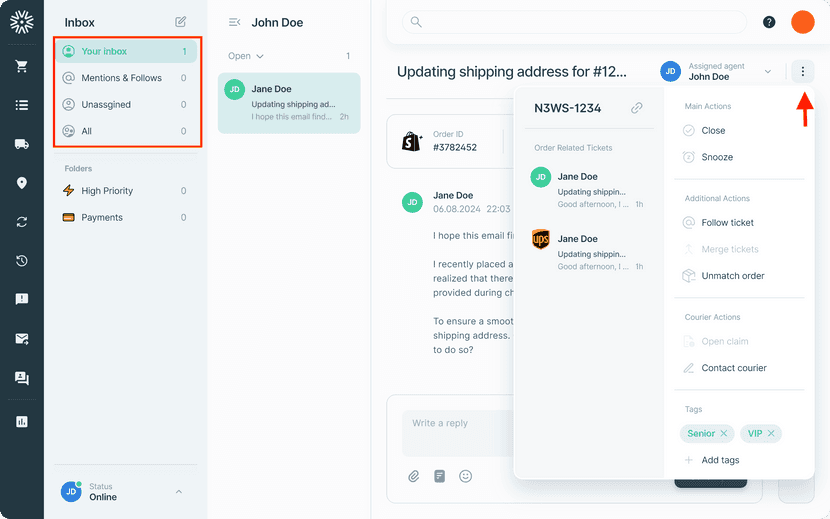
From your Inbox, use the left-hand menu to access folders. Open a ticket and click on the menu icon (...) in the top-right corner.
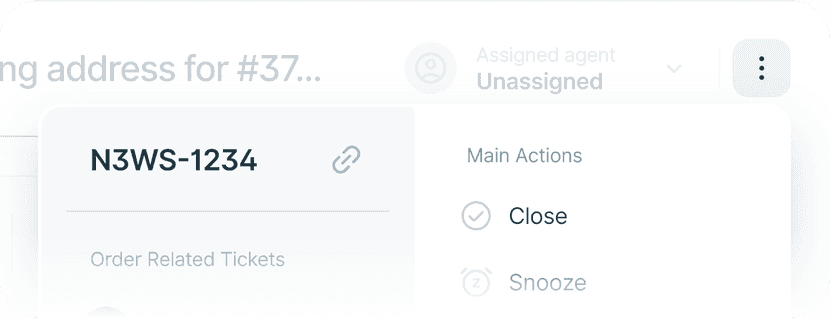
Hover over the ticket number to copy a shareable link.
🔁 Open, Snooze, and Close Tickets
You can move tickets to different states: Open, Snooze, or Close.
- Use Snooze if waiting on a courier, another team, or the client.
- If the client replies, the ticket reopens automatically.
- Mark as Closed once resolved.
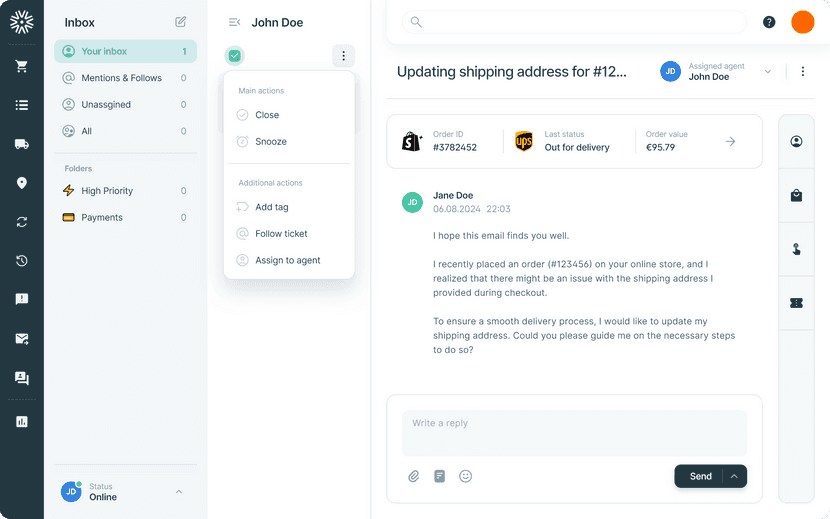
⚙️ Additional Actions
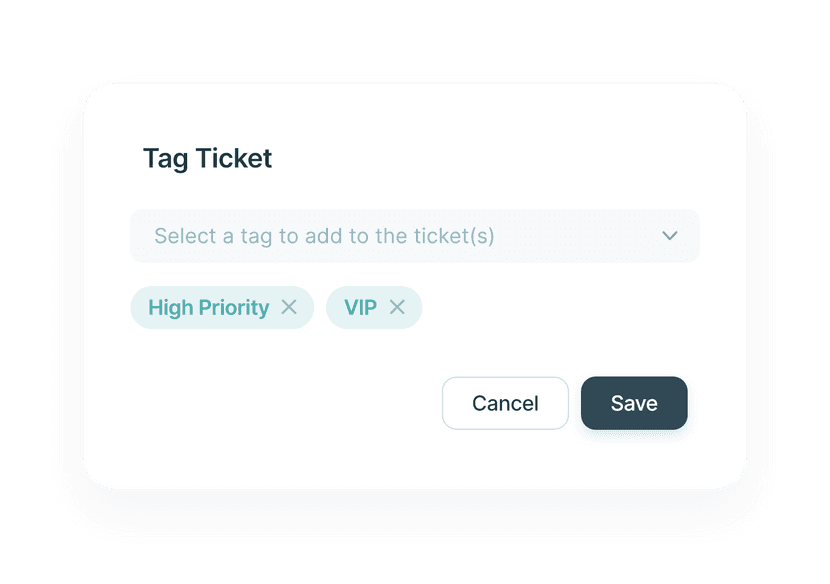
Assigned tags are shown at the bottom of the actions menu.

Use Follow to stay informed on progress and updates.

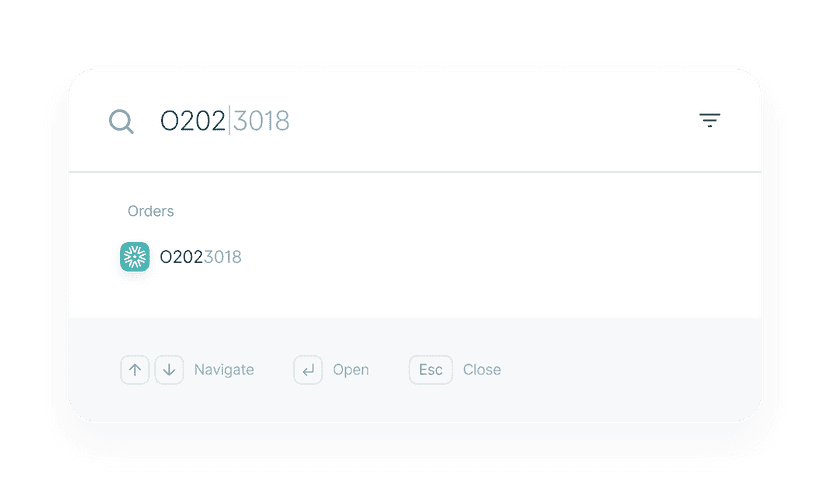
Click on ... → Match Order to link a ticket to an existing order.
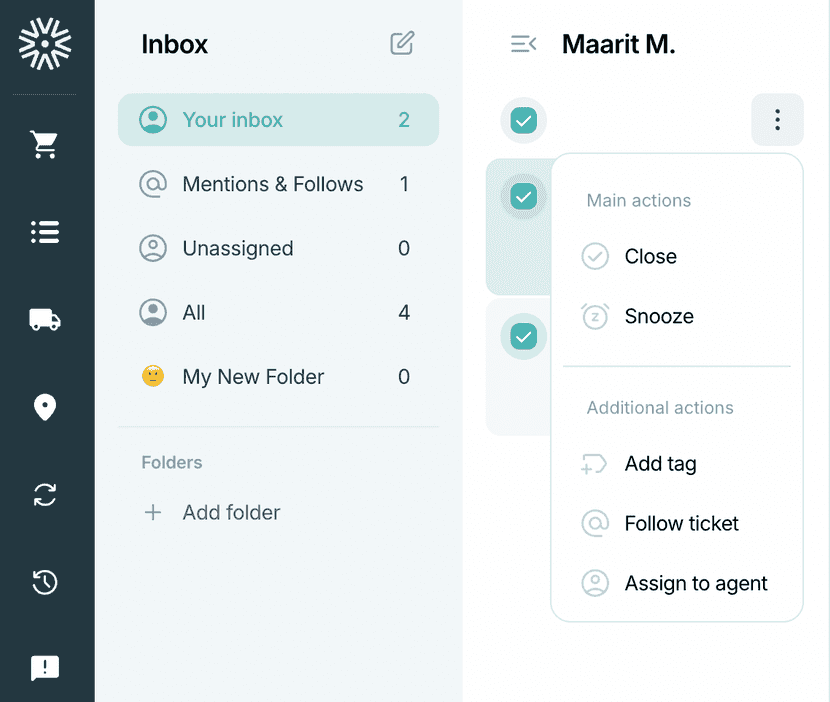
You can apply actions to multiple tickets in bulk:
🗒️ Leave internal notes
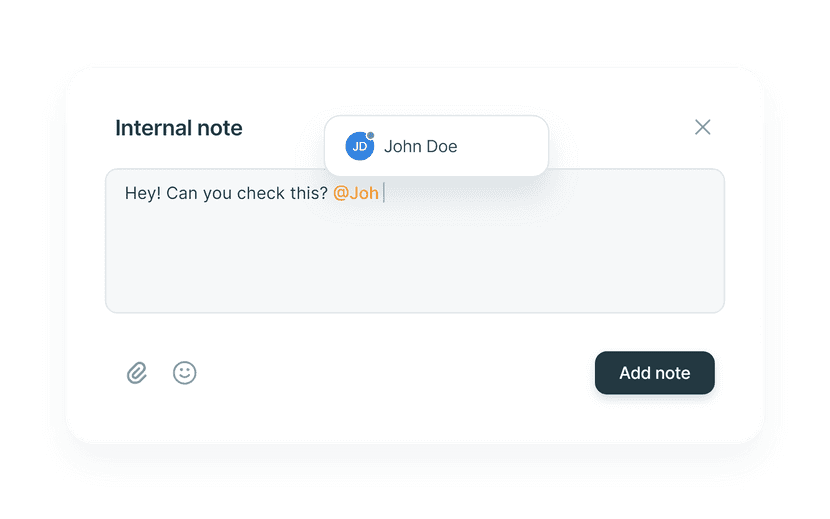
Click the note icon inside the ticket to write internal notes.
Mention teammates with @name. They’ll get notified.
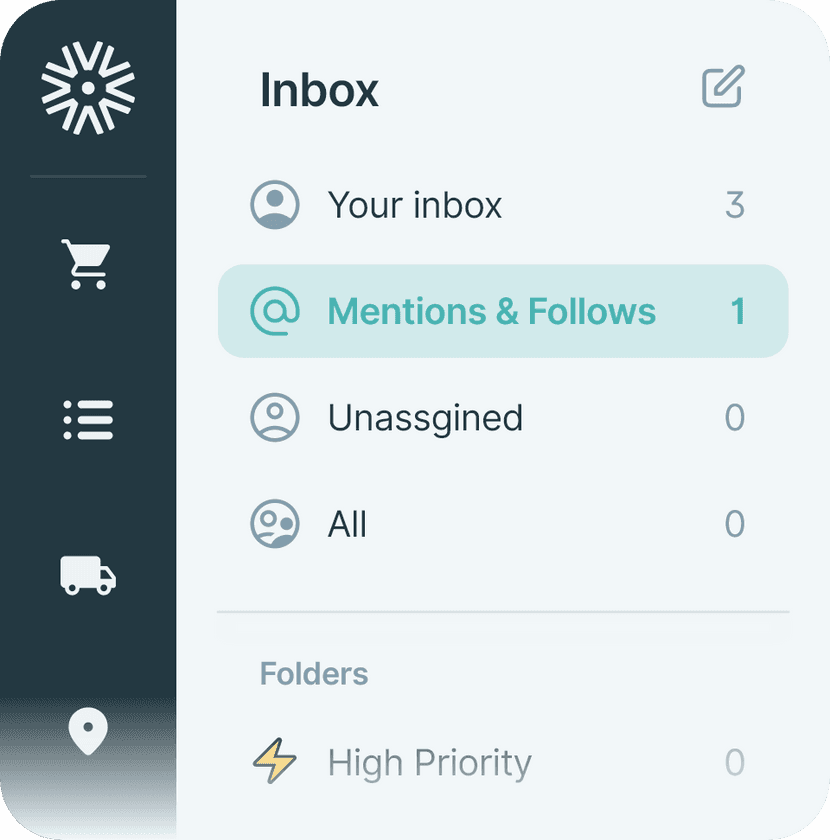
Mentions appear in the same folder as followers:
🔒 These notes are only visible to logged-in agents. Customers never see them.
👤 Assign tickets
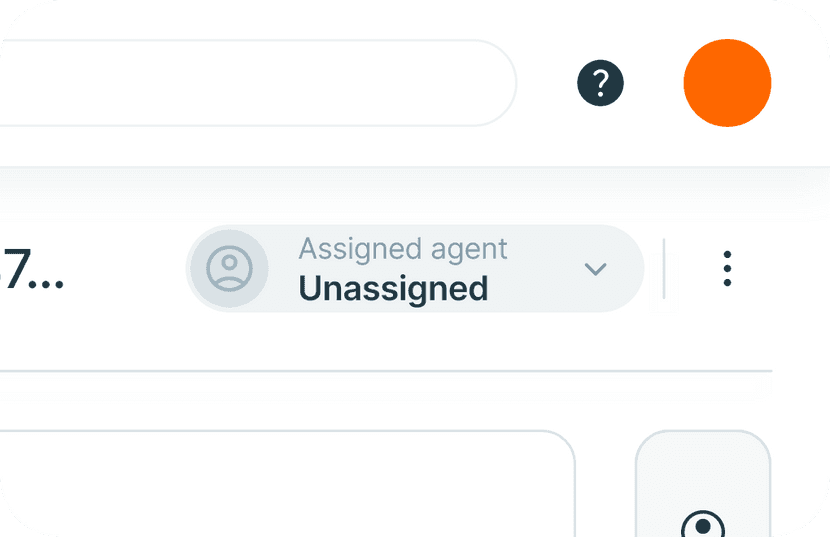
Click “Assign to agent” on the top right to assign the ticket to yourself or someone else.
